Knowing how to fix curb rash on rims is an essential skill for any car enthusiast looking to maintain their vehicle's aesthetic value and structural integrity without the high cost of professional wheel repair shops.
This guide is designed for the intermediate DIYer who has a basic understanding of automotive care. While it does not require professional equipment, it assumes you have the patience for precision work and the ability to follow safety protocols strictly.
By the end of this guide, you will be able to diagnose wheel damage, perform proper surface preparation, apply filler, and execute a flawless paint finish that matches your factory look.
- Understanding the anatomy of alloy wheel damage
- The essential tools and safety gear required
- Techniques for effective sanding and smoothing
- Proper application of metal filler for deep gouges
- Finishing steps for a factory-grade paint match
Overview & Prerequisites

Required Tools and Materials
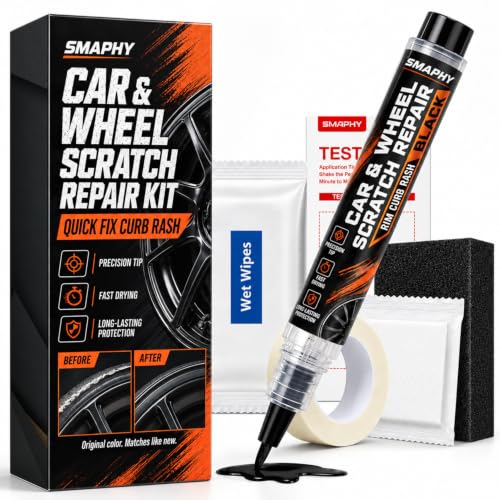
To successfully repair curb rash, you will need a combination of mechanical and chemical supplies. Gather high-grit sandpaper (400 to 2000 grit), a metal-safe body filler, degreasing agent, masking tape, and high-quality automotive wheel paint. Always ensure your workspace is well-ventilated.
Who This Guide Is For
This guide is crafted for owners who have mastered the basics of alloy wheel maintenance and are ready to tackle physical surface damage. If you are comfortable working with hand tools and have a steady hand, this process will save you hundreds in service fees.
Core Concepts & Fundamentals
Understanding Alloy Integrity
Alloy wheels are typically made from aluminum mixtures. While curb rash is usually aesthetic, deep gouges can weaken the structural integrity of the rim lip. The goal of the repair is to restore the original profile without removing excessive material.
The Logic of Surface Restoration
The repair process relies on a layering strategy: removing jagged high points through sanding, filling voids with epoxy-based metal compounds, and leveling the surface to blend seamlessly with the original finish. Learn more about comparing alloy repair techniques to ensure your wheels remain durable.
| Method | Correct Approach | Incorrect Approach |
|---|---|---|
| Sanding | Gradual grit progression | Starting with coarse paper only |
| Filling | Thin, even layers | Overfilling and excessive sanding |
| Painting | Multiple light coats | One heavy, dripping coat |
Step-by-Step Execution Guide
Preparation and Smoothing Phase
Start by jacking up the vehicle and removing the wheel. Clean the affected area with soap and water, then use 400-grit sandpaper to remove the jagged edges of the curb rash until the area is smooth to the touch.
Filling and Finishing Phase
Apply your alloy filler, ensuring it is slightly higher than the surrounding metal. Once cured, sand it flush with the rim. Finally, mask off the tire and apply primer, base coat, and clear coat according to standard paint specifications.
Recommended Equipment & Solution

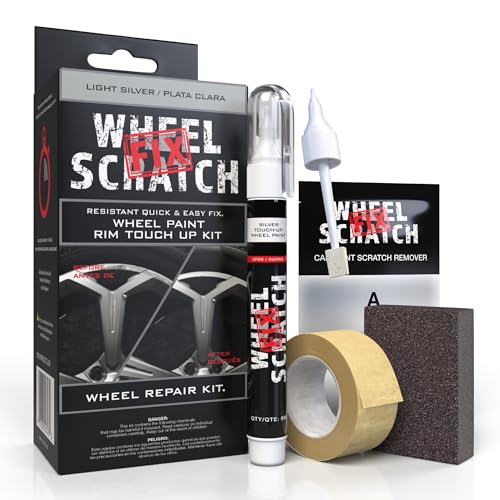
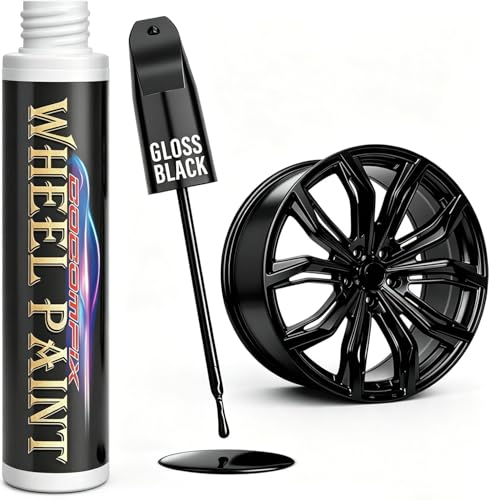
Gloss Black Rim Touch Up Paint, Rim
A reliable pick for Gloss Black Rim Touch Up, selected based on this article's guidance.
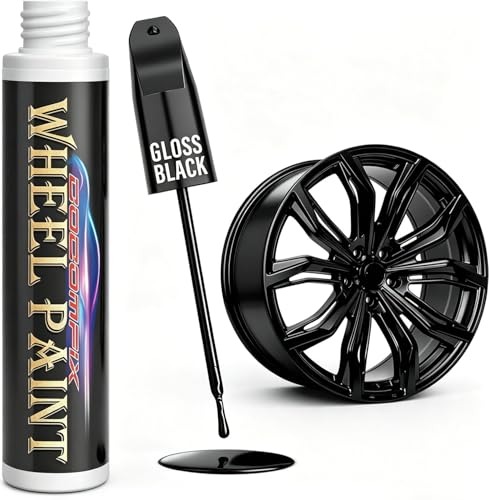
cocomfix Gloss Black Rim Touch Up Paint
A reliable pick for cocomfix Gloss Black Rim Touch, selected based on this article's guidance.
Best Practices & Pro Tips

Environmental Control
Humidity and temperature play a massive role in paint curing. Avoid performing this repair in direct sunlight or environments above 85°F or below 60°F.
Layering Strategy
Always work in multiple thin coats rather than one heavy layer. Thin layers are less likely to run and provide a smoother, more factory-like finish that lasts longer against the elements.
Troubleshooting & Common Pitfalls

Paint Running or Sagging
If the paint runs, you have applied too much too quickly. Stop immediately, let the paint dry completely, sand it down with 2000-grit paper, and try again with lighter dusting coats.
Filler Shrinkage
Sometimes the filler shrinks as it cures, creating a slight dip. Address this by applying a second, thinner layer of filler, sanding it level once fully cured, and ensuring the base prep is perfect before painting.
Frequently Asked Questions
Is it safe to repair wheels with structural cracks?
A: No, curb rash is surface-level. Structural cracks in the alloy should be handled by a professional shop to ensure safety.
Can I match any color?
A: Yes, most auto stores offer paint matching using your vehicle's paint code or generic wheel silver codes.
How long does the repair last?
A: With proper surface preparation and high-quality clear coat, these repairs often last for several years under normal driving conditions.
Do I need to remove the tire?
A: It is recommended to deflate the tire slightly to get the tool behind the rim edge, but full removal is not strictly required.
Can I repair machined-finish wheels?
A: Machined finishes are difficult to replicate at home; these usually require professional CNC machining or specialized tinting.
What is the most common mistake?
A: Rushing the sanding process and failing to properly clean the surface before applying primer.
Will the repair be invisible?
A: If done correctly with good color matching, the repair should be virtually indistinguishable from the factory finish.
Is there a specific weather requirement?
A: Yes, aim for low humidity and moderate temperatures to ensure the paint flows and cures correctly.
Key Takeaways
- 1 Always prioritize safety equipment like gloves and respirators.
- 2 Preparation is 90% of the quality; do not skip cleaning.
- 3 Use 400-grit paper for initial shaping and 2000 for finishing.
- 4 Thin, light coats of paint prevent runs and drips.
- 5 Allow full cure times between filler and paint stages.
- 6 Test your paint match on scrap metal before the wheels.
- 7 Curb rash repairs are aesthetic; respect structural limits.
Conclusion
Fixing curb rash is a rewarding process that significantly enhances the look of your vehicle while preserving the value of your wheels. By following the structured approach outlined in this guide, you can achieve professional results at home.
Remember that the quality of your finish is directly tied to the effort put into the preparation stages. If you are ever unsure about the severity of damage, consult a professional to ensure your safety on the road.
With practice, you can restore your rims to their former glory and maintain your car with confidence. For further reading, check out our comprehensive guide to total wheel care.