When you decide how to setup & use best alloy wheel repair kit : fix curb rash at home (2026), you are taking the first step toward restoring your vehicle's aesthetic value without the high cost of a professional wheel shop.
This guide is designed for the weekend DIY enthusiast or car owner who possesses basic mechanical aptitude and a steady hand. We assume you have access to a well-lit workspace and basic hand tools.
By the end of this guide, you will be able to identify wheel damage, prepare the substrate, apply filler, and achieve a professional-grade color match that hides unsightly curb rash effectively.
- Identifying the severity of wheel damage.
- Choosing the correct repair materials.
- Substrate preparation and sanding techniques.
- Applying color-matched filler and sealants.
- Finishing and buffing for a factory look.
Overview & Prerequisites
Required Materials and Tools
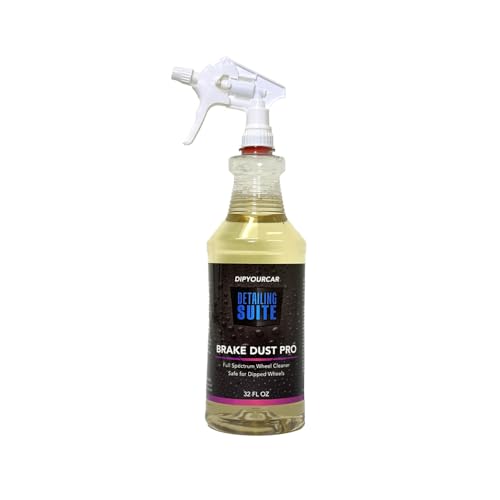
To succeed, you will need a high-quality alloy repair kit, 400-2000 grit wet/dry sandpaper, masking tape, microfiber towels, and a high-quality wheel cleaner chemical composition comparison reference guide to ensure your cleaning agents won't damage existing finishes.
Assessing Your Wheel Condition
Before beginning, determine if the damage is cosmetic or structural. If the aluminum is deeply gouged or the wheel shows signs of hairline cracks, repair is not recommended; professional intervention is required for safety.
Always perform a patch test with your cleaning chemicals on the inner barrel of the rim to ensure no discoloration occurs before treating the visible curb rash.
Core Concepts & Fundamentals
Understanding Alloy Substrates
Alloy wheels are typically made from aluminum-magnesium mixtures protected by a clear coat or powder coat. When you scrape a curb, you break this seal, exposing the raw metal to oxidation. You can learn more about restoring silver rims through systematic refinishing.
Adhesion and Curing Principles
Repair success depends on the mechanical bond between the filler and the wheel. Proper sanding creates a "tooth" for the filler to grab. Without this, even the most expensive kit will peel under heat from braking.
| Feature | Correct Approach | Incorrect Approach |
|---|---|---|
| Cleaning | Grease-free, dry, no residue | Wiping with oily rags |
| Sanding | Gradual grit increase | Skipping low grits |
| Curing | Natural air dry cycles | Forcing with high heat |
Step-by-Step Execution Guide
Preparation Phase
Start by thoroughly deep cleaning the wheel. Removing road grime is essential, as removing grease and asphalt from aluminum wheels is critical before sanding to avoid grinding contaminants into the exposed metal.
Execution Phase
Recommended Equipment & Solution

Amiss Gloss Black Rim Repair Kit, Wheel
A reliable pick for Amiss Gloss Black Rim Repair, selected based on this article's guidance.
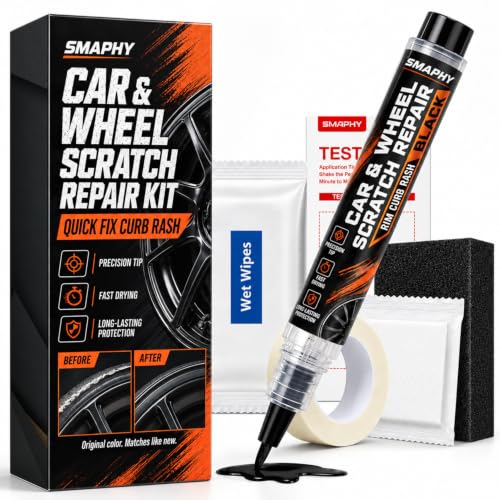
SMAPHY Wheel Scratch Repair Kit, Gloss Black
A reliable pick for SMAPHY Wheel Scratch Repair Kit, selected based on this article's guidance.
Best Practices & Pro Tips
Environmental Control
Perform your repairs in a shaded, wind-free environment. Temperature fluctuations and direct sunlight can cause fillers to set unevenly or thin paint to run.
Layering Technique
Multiple thin coats are always superior to one thick coat. This applies to both the filler build-up and the final clear coat finish.
Troubleshooting & Common Pitfalls
Identifying Failures
If you see a white powdery layer on alloy wheels, this indicates oxidation. Do not paint over this; it must be fully removed or the new finish will flake off immediately.
Correction Strategies
Frequently Asked Questions
Can I repair diamond-cut wheels?
A: Diamond-cut wheels require a lathe for a factory finish. A repair kit will only hide the rash, but the machine-turned lines will be lost.
How long does the repair last?
A: With proper surface preparation, a DIY repair can last several years under normal driving conditions.
Is it safe to drive immediately?
A: You should wait at least 24 hours to ensure the filler and paint are fully cured before the wheel undergoes thermal stress from driving.
Do I need to remove the wheel?
A: While you can repair it while mounted, removing the wheel allows for much better access and a more precise finish.
What if I oversanded?
A: You can re-apply a thin layer of filler to build back the lost material and start the sanding process again from a finer grit.
Will the repair be invisible?
A: It will be very difficult to spot if you match the paint correctly and feather the sanding properly.
Can I use an airbrush?
A: An airbrush provides more control and is recommended if you have experience with painting car parts.
Is this covered by insurance?
A: Most insurance policies do not cover minor cosmetic curb rash, making DIY repair the most cost-effective option.
Key Takeaways
- 1 Always prioritize safety by checking for structural integrity first.
- 2 Thorough cleaning is the most important step for long-term adhesion.
- 3 Use consistent, fine-grit sanding to achieve professional texture.
- 4 Layering filler prevents air pockets and structural failure.
- 5 Protect the tire and surrounding areas from paint overspray.
- 6 Allow adequate curing time to prevent early paint failure.
- 7 Consistent movement during painting prevents unsightly drips.
Conclusion
Mastering the ability to fix curb rash is a highly rewarding skill that preserves the value of your vehicle. By following this guide, you can achieve professional results on your own timeline.
Remember that patience is your greatest tool. If you rush the preparation or the curing stages, the quality of the finish will suffer. Take your time, maintain your equipment, and ensure your workspace is prepared before you begin.
With proper technique, you can restore your wheels to their original showroom shine and extend their lifespan significantly.
📌 Pillar Resource: Read our complete main Best Alloy Wheel Repair Kit : Fix Curb Rash at Home (2026) guide for in-depth insights.