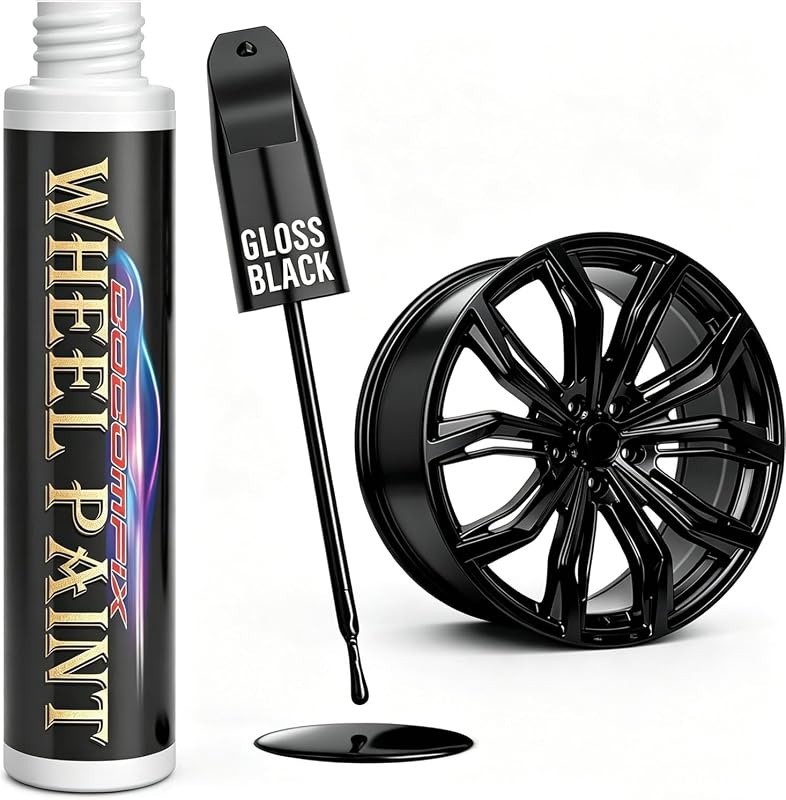
Learning How To Repair Alloy Wheel Curb Rash is a rewarding skill that can save you hundreds of dollars in professional refurbishment costs while restoring your vehicle's aesthetic appeal.
This guide is designed for the DIY enthusiast who possesses a basic understanding of automotive maintenance. We assume you have a steady hand and access to a clean, well-lit workspace, as precision is paramount when working with precision-machined metal.
By the conclusion of this guide, you will be able to assess wheel damage, perform professional-level surface preparation, apply filler compounds, and execute a factory-match paint repair to hide even the most stubborn curb abrasions.
- Understanding the limitations of DIY repair versus structural integrity.
- Selecting the correct grit progression for aluminum sanding.
- Mastering the application of metal-reinforced filler.
- Techniques for flawless color blending and clear coat application.
- Safety protocols when working with chemical strippers and aerosol finishes.
Overview & Prerequisites

Required Materials and Tools
To successfully perform How To Repair Alloy Wheel Curb Rash, you will need a variety of sanding blocks, varying grits of wet/dry sandpaper (starting at 400 up to 2000), aluminum filler, automotive-grade primer, base coat paint matched to your wheel color, and a high-quality 2K clear coat.
Evaluating Suitability for Repair
Not every wheel is a candidate for DIY repair. If the curb rash has caused deep structural gouges, cracked the metal, or resulted in a bent rim, you should refer to What Are The Characteristics Of A Forged Alloy Race Wheel: Elite Performance Explained to understand why professional inspection is necessary for high-performance components.
Always work in a well-ventilated area. If you are struggling with low tire pressure after moving your vehicle into your workspace, ensure you check out Step-by-Step: How to Setup, Configure & Master The 8 Best Portable Motorcycle Tire Inflators for 2025 to get your pressure perfectly leveled before beginning.
Core Concepts & Fundamentals

The Physics of Surface Adhesion
The primary challenge in repairing alloy wheels is ensuring the filler and paint bond to the substrate. Unlike steel, raw aluminum oxidizes rapidly, forming a microscopic layer that inhibits paint adhesion. Proper mechanical abrasion is essential to remove this layer and create a "tooth" for the primer to grip.
Distinguishing Cosmetic from Structural Damage
Understand that curb rash is generally a cosmetic concern. However, if the impact was significant, you must inspect the inner barrel and bead seat. Refer to The Physics Of The Alloy Wheels Vs The Basic Wheels Explained In Crisp to determine if your wheels have sustained fatigue that exceeds safe limits.
| Metric | Correct Approach | Incorrect Approach |
|---|---|---|
| Sanding | Uniform progression (400 to 2000) | Rough grinding only |
| Filler | Aluminum-reinforced body filler | Standard wood or interior putty |
| Paint | Thin, overlapping coats | Heavy, single-pass application |
Step-by-Step Execution Guide

Phase 1: Surface Preparation and Cleaning
The success of the repair relies heavily on the cleanliness of the metal. Thoroughly degrease the wheel to remove brake dust and road tar.
Phase 2: Filling and Finishing
Once the area is prepped, the application of filler and finish must be methodical to avoid uneven surfaces.
If you find yourself having persistent issues with tools during your maintenance tasks, refer to 7 Common Problems with The 8 Best Portable Motorcycle Tire Inflators for 2025 (and Quick Fixes) for guidance on maintaining your support gear.
Recommended Equipment & Solution

Wheel Scratch Fix® Light Silver Rim Touch
A reliable pick for Wheel Scratch Fix® Light Silver, selected based on this article's guidance.

Silver Rim Touch Up Paint, 2-in-1 Brush
A reliable pick for Silver Rim Touch Up Paint, selected based on this article's guidance.
Best Practices & Pro Tips

Maintaining Environmental Control
Temperature and humidity significantly affect paint curing times. Attempting to repair wheels in a damp, cold garage will result in "blushing" or a cloudy finish in the clear coat.
Achieving a Professional Color Match
Always source the specific paint code for your wheel finish. Even "Silver" can vary across manufacturers. Using a test card before spraying the wheel ensures the hue is correct.
Troubleshooting & Common Pitfalls

Addressing Surface Imperfections
If the finish appears orange-peeled, it is likely due to improper spray distance or too thick a coating application. This requires light wet-sanding with 2000-grit paper and a final polish.
Correcting Paint Mismatch
If the paint color does not match after drying, do not attempt to re-spray over it immediately. Use a paint-safe solvent to strip the top layer and start the base coat application again.
Frequently Asked Questions
Is it safe to repair curb rash on a high-speed wheel?
A: Cosmetic repairs to the outer lip are generally safe, but any damage extending to the bead or structure should be professionally inspected to ensure safety.
How long does the repair take to complete?
A: While the hands-on time is roughly 2-3 hours, you must account for drying and curing times, often spanning 24-48 hours.
Can I repair diamond-cut wheels the same way?
A: No, diamond-cut wheels require specialized CNC machining to maintain their factory finish, which is not possible with basic DIY hand tools.
What if I don't know my wheel paint code?
A: You can often find this information via your vehicle's VIN or by contacting the manufacturer's parts department for the exact alloy wheel color code.
Is it necessary to remove the tire?
A: It is not strictly necessary if you can mask effectively, but removing the tire provides the best access for a high-quality finish.
Can I use standard body filler?
A: No, you must use aluminum-reinforced filler to ensure the material expands and contracts at the same rate as the alloy metal.
What is the purpose of the 2K clear coat?
A: 2K clear coats contain a hardener that provides excellent UV protection and chemical resistance against brake dust and road grime.
Will the repaired area be as strong as the original?
A: If filled correctly, the repair will be aesthetically identical, but it remains a cosmetic surface repair, not a structural reinforcement.
Key Takeaways
- 1 Always perform a thorough inspection for structural damage before beginning repairs.
- 2 Mechanical surface preparation (sanding) is the most critical step for paint adhesion.
- 3 Use only aluminum-reinforced filler for lasting results on alloy wheels.
- 4 Follow a strict grit progression (400-2000) for a factory-smooth finish.
- 5 Use 2K clear coat products for superior UV and brake dust resistance.
- 6 Environmental temperature control prevents common painting defects like peeling or hazing.
- 7 When in doubt regarding structural integrity, prioritize safety over cosmetic repair.
Conclusion
Learning how to repair alloy wheel curb rash is a highly satisfying project that elevates your vehicle's appearance. By respecting the fundamentals of surface prep and using the correct materials, you can achieve professional results in your own garage.
Remember that maintenance extends beyond the wheel finish. Keep your tools organized and your tire pressure optimal to ensure the best performance from your wheels. For further technical insights on wheel performance, we recommend reviewing our additional resources on forged alloy characteristics.
Take your time with the prep work; a successful repair is 90% preparation and 10% application.