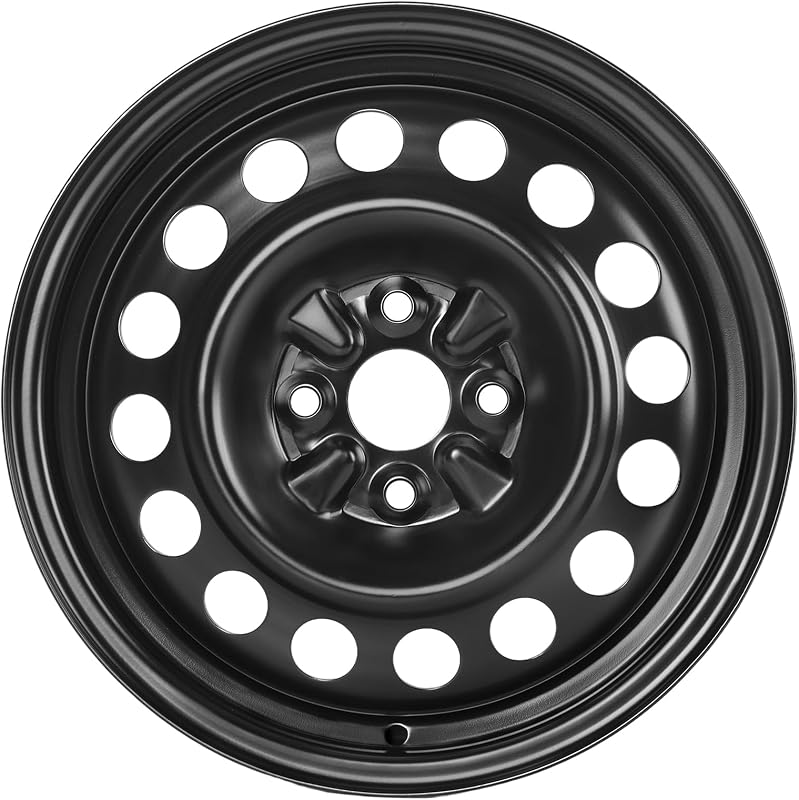
Learning how to repair alloy wheels at home is a highly rewarding skill that allows you to restore your vehicle's aesthetic appeal while saving significantly on professional detailing costs.
This guide is designed for the intermediate DIY enthusiast who possesses basic mechanical intuition and a steady hand. We assume you have access to a well-ventilated workspace and the patience required for proper surface preparation and drying times.
By the end of this guide, you will be able to diagnose alloy surface damage, execute a multi-stage sanding and filling process, and apply a durable clear coat that matches your original wheel finish.
- Understanding the different alloy finishes
- Essential tools for professional-grade results
- The chemistry behind proper adhesion and filling
- Safety protocols for sanding and chemical application
- Techniques for achieving a seamless, invisible repair
Overview & Prerequisites

Essential Tool Kit Requirements
Before beginning, ensure you have wet-dry sandpaper (varying grits from 240 to 2000), high-quality alloy filler, masking tape, masking paper, wheel cleaner, and a color-matched primer and clear coat. Having the right tools ensures that How To Repair Alloy Wheel Curb Rash: A Simple DIY Guide for a Perfect Finish becomes a manageable project rather than a frustration.
Target Audience and Skill Prerequisites
This guide assumes you are comfortable working with hand tools and have a basic understanding of automotive surface preparation. You should be prepared to spend at least 4 to 6 hours on a single wheel to allow for adequate curing and drying times.
Core Concepts & Fundamentals

Understanding Alloy Material and Oxidation
Alloy wheels are typically cast aluminum, which creates an oxide layer when exposed to air. To achieve a lasting repair, you must remove this oxide and any surface contaminants completely before applying filler. If you ignore the underlying material properties, the repair may flake off after only a few heat cycles.
The Geometry of Curb Rash
Curb rash occurs when the wheel rim makes contact with abrasive surfaces. Understanding how to feather-edge the repair area into the surrounding non-damaged metal is the secret to an invisible transition. Learn more about How to Fix Scuffs on Alloy Wheels: 7 Top Repair Kits Reviewed vs Top Competitors: Which is Best? to see how kits facilitate this process.
| Approach | Result | Longevity |
|---|---|---|
| Heavy grinding | Uneven surface | Poor |
| Gradual feathering | Factory smooth | Excellent |
Step-by-Step Execution Guide

Phase 1: Surface Preparation and Cleaning
Phase 2: Filling and Finishing
Recommended Equipment & Solution

Wheel Scratch Fix® Light Silver Rim Touch
A reliable pick for Wheel Scratch Fix® Light Silver, selected based on this article's guidance.

ATG Alloy Wheel Repair Kit – Curb
A reliable pick for ATG Alloy Wheel Repair Kit, selected based on this article's guidance.
Best Practices & Pro Tips

Environmental Control During Painting
Always perform your final painting and clear coating in a dust-free, low-humidity environment. Even minor dust particles can ruin a smooth clear coat, forcing you to restart the process.
Layering and Curing Schedules
Allow at least 24 hours of curing time for the primer and filler before applying color. Rushing the process is the most common cause of "lifting" or bubbling beneath the final finish.
Troubleshooting & Common Pitfalls

Identifying Structural Damage vs. Cosmetic Damage
If you notice a crack or a significant bend in the wheel, DIY repair is unsafe. Consult a professional wheel refurbishment shop immediately, as these issues threaten the structural integrity of your What Are The Characteristics Of A Forged Alloy Race Wheel: Elite Performance Explained.
Correcting Paint Mismatch and Runs
If you encounter a paint run, allow it to dry completely, sand it smooth with 2000-grit wet sandpaper, and re-apply a light misting of paint. Do not attempt to wipe it while wet.
Frequently Asked Questions
Can I fix a dented wheel at home?
A: No, DIY repair is strictly for cosmetic surface damage. Dents affect structural integrity and require professional specialized equipment.
Is it necessary to remove the tire?
A: It is not strictly necessary if you mask carefully, but removing the tire provides the best access to the rim edge.
How long does the repair last?
A: A high-quality repair using proper primer and 2k clear coat can last for years with standard maintenance.
Does wheel color matter?
A: Yes, matching the factory paint code is vital. Most manufacturers offer specific touch-up kits for common alloy silver and black finishes.
Can I use body filler?
A: Only if it is specifically designated for metal or aluminum, as standard plastic filler may not expand/contract with the wheel.
What is the most common mistake?
A: The most common mistake is skipping the deep cleaning phase, which prevents the paint from adhering to the alloy surface.
Is painting the whole wheel better?
A: In many cases, yes, blending a small spot is difficult; painting the entire face of the wheel often yields a more uniform result.
Should I use a clear coat?
A: Yes, clear coat is essential as it protects the base color from brake dust, UV rays, and road salt.
Key Takeaways
- 1 Always clean the area thoroughly to ensure long-term paint adhesion.
- 2 Use progressive sanding grits to create a smooth, feathered edge.
- 3 Never attempt to repair structural cracks or deep bends at home.
- 4 Apply multiple thin coats of paint rather than one thick layer.
- 5 Allow sufficient curing time for each layer of chemical application.
- 6 Use high-quality 2K clear coat for a durable, professional finish.
- 7 Work in a well-ventilated, low-dust environment for best results.
Conclusion
Repairing alloy wheels at home is a process of patience and methodical preparation. By following the steps outlined, you can achieve results that rival professional shops while maintaining full control over the quality of your finish.
Remember that the quality of your finished product is directly correlated to the time spent on preparation. If you maintain steady pressure and allow proper curing, your wheels will look as good as new.
Take your time, stay methodical, and enjoy the satisfaction of restoring your own vehicle wheels to their former glory.
Review our secondary guide on curb rash for more advanced finishing techniques.