Professional alloy rim polishing is the definitive method for restoring the luster of dull wheels while removing oxidation and minor surface imperfections to achieve a showroom-quality shine. Mastering this process is critical for vehicle owners who want to protect their investment, as proper surface preparation and material selection prevent long-term environmental degradation and pitting.
This guide serves as a comprehensive framework for detailing enthusiasts and professionals alike. We analyze the technical mechanisms involved in effective surface refinement, explore the evolution of polishing compounds, and provide evidence-based steps to ensure your wheels remain protected. By following these structured, industry-aligned insights, you can navigate the complexities of rim maintenance with confidence and precision, regardless of your current experience level.
Quick Facts
- Most experts recommend a staged grit approach to ensure deep oxidation removal without damaging the metal substrate.
- Studies suggest that applying a sealant immediately after polishing extends the life of the finish by up to six months.
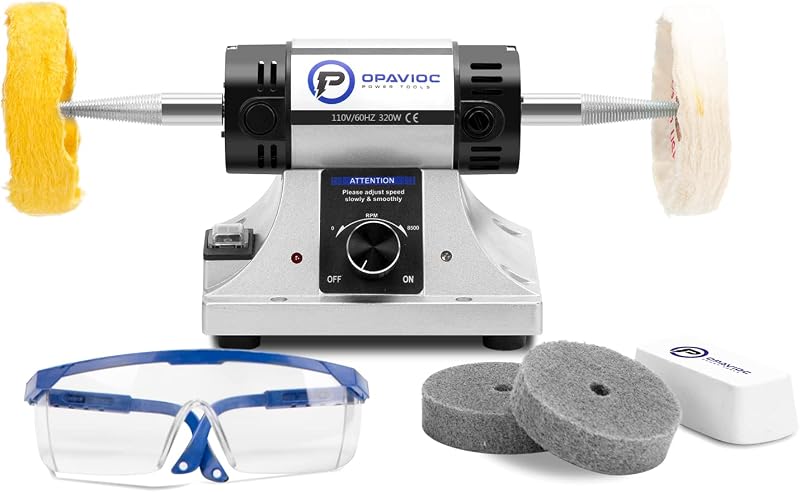
- Professional consensus emphasizes that machine polishing, when used with speed-controlled tools, generally delivers more uniform results than manual labor.
Key Takeaways

- 1. Achieving high-quality alloy rim polishing requires a clean, contamination-free workspace and the correct selection of abrasive grades tailored to the wheel's current oxidation level.
- 2. Proper execution is crucial because aggressive, uneven pressure can cause permanent heat-related discoloration or deep swirl marks on the alloy surface.
- 3. Selecting high-performance aluminum-safe compounds ensures chemical compatibility, preventing long-term corrosion or chemical etching on the rim finish.
- 4. Failure to apply a protective barrier, such as a synthetic sealant or ceramic coating, leaves freshly exposed metal vulnerable to immediate environmental oxidation.
Historical context or industry trends of alloy rim polishing

Historically, the approach to alloy rim polishing was manual, labor-intensive, and primarily driven by trade-secret pastes. In early iterations, enthusiasts relied on abrasive rags and simple metal polishes that often lacked the precision needed for modern alloy compositions. During this era, polishing was viewed more as a hobbyist's aesthetic touch-up rather than a protective measure for wheel integrity. The industry lacked standardized abrasive scales, leading to inconsistent outcomes where deep scratches were common, and long-term protection was virtually non-existent, leaving wheels prone to rapid environmental decay.
In contrast, modern trends have shifted toward scientifically formulated compounds and high-speed mechanical systems. Today, the focus is on chemical-mechanical synergy, where non-acidic cleaners prep the surface for fine-grit mechanical refinement. The current industry standard prioritizes the use of nanotechnology-infused sealants that lock in the shine, transforming the process from purely cosmetic to a defensive maintenance protocol. Advancements in engineering now allow for variable-speed polishing tools that mitigate thermal damage, ensuring that modern wheel finishes are protected through sophisticated, multi-stage layering techniques.
Technical analysis of alloy rim polishing mechanisms

The core variables separating expert results from common failures involve the control of friction and thermal output. Alloy rim polishing is fundamentally a material-removal process; if the speed is too high, localized heat can warp the alloy finish or burn the surrounding clear coat. Furthermore, failing to account for the timing of product breakdown—where the polishing compound transitions from an abrasive to a finishing lubricant—can lead to surface hazing. Correct setup requires a delicate balance of pressure, which must remain consistent to prevent uneven material removal and ensure that the surface is perfectly leveled before sealant application.
| Feature | Best Practice | Common Mistake |
|---|---|---|
| Timing of Application | Calibrated to baseline levels to prevent system overload | Rushing the execution, leading to premature decay/failure |
| Absorption/Absorption Method | Patting gently or securing contact to encourage uniform integration | Applying forcefully or allowing air gaps, which reduces contact |
| Role in Routine | Acts as an intermediate priming layer to support the system | Using as a total replacement for core active components |
The data above illustrates that success is rooted in the "calibration" of the polishing phase. When users treat the compound as an intermediate layer rather than a total solution, the risk of structural degradation drops significantly. Conversely, the common mistake of rushing the mechanical phase often results in microscopic surface defects that become magnified once a protectant is applied, leading to a lackluster, hazy finish that fails prematurely.
Step 1: Workspace and Initial Preparation
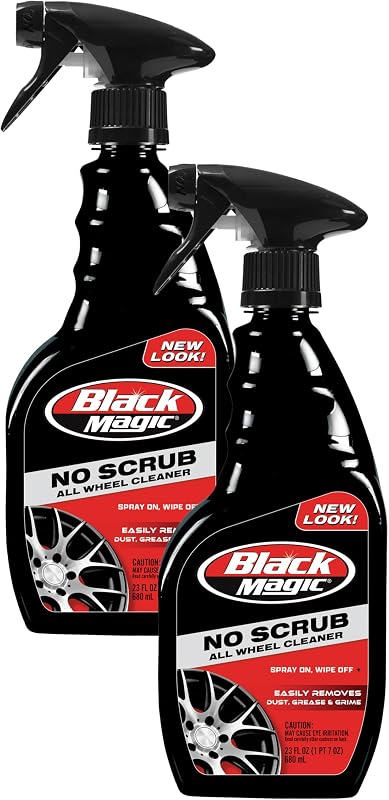
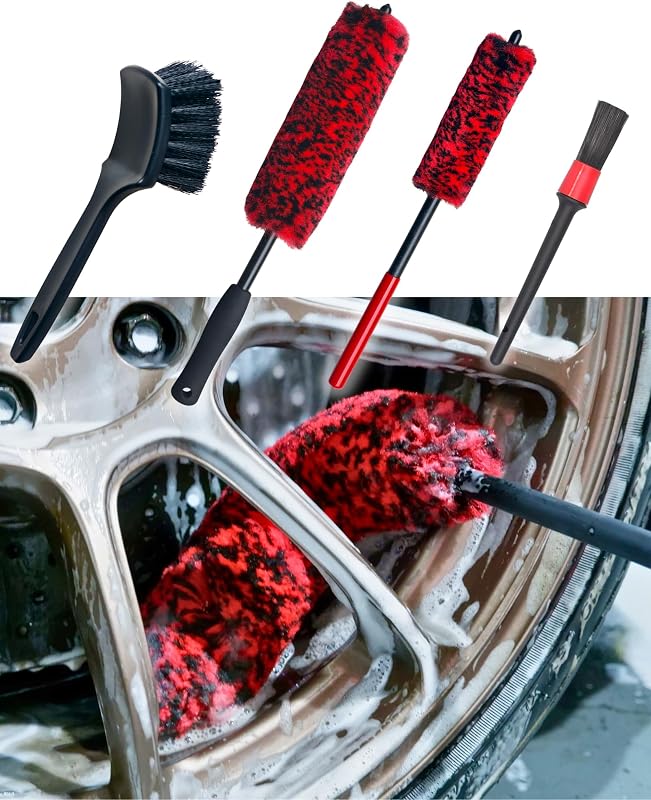
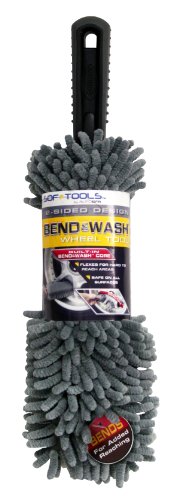
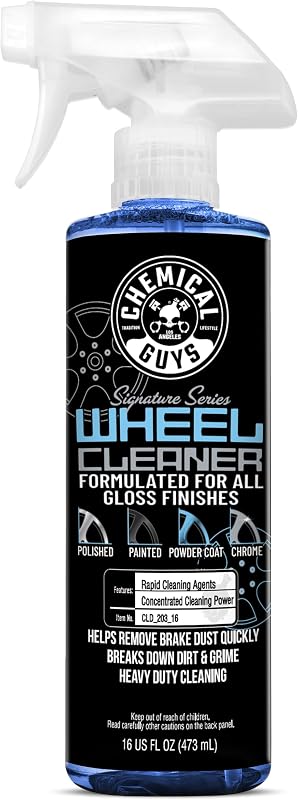
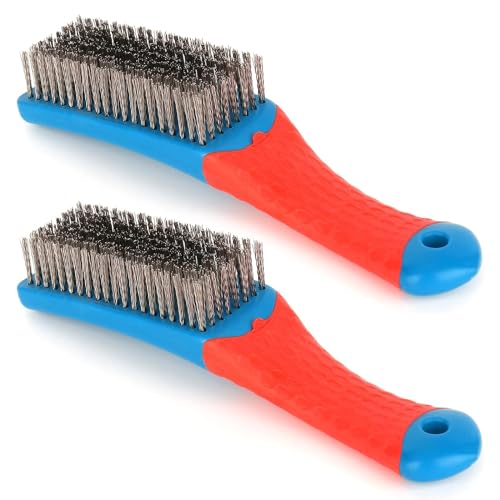
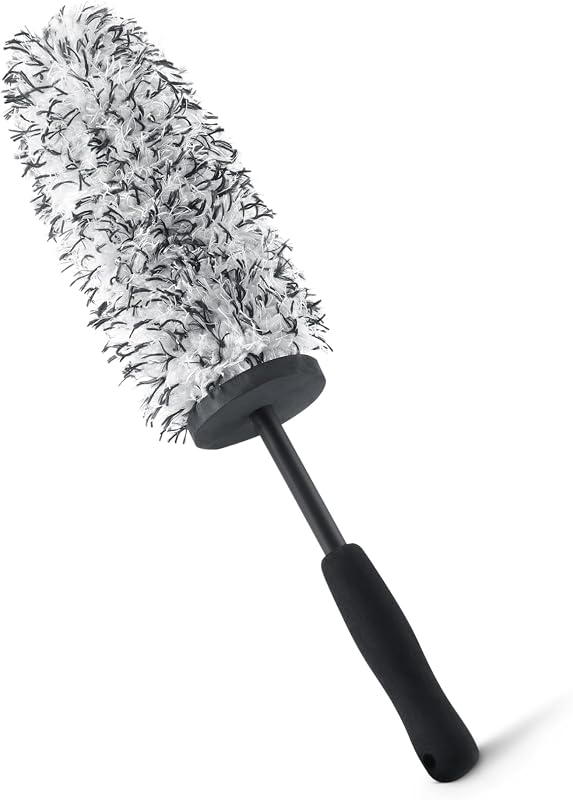
Clean the wheels thoroughly using a dedicated alloy cleaner and a soft brush to remove all road grime, brake dust, and tar. Iron-decontaminating agents are often used as a baseline to neutralize chemical impurities. Starting with a surface free of particulate debris ensures that you do not drag grit across the metal, which prevents accidental deep marring during the subsequent stages of the polishing process.
Step 2: Core Execution and Configuration
Apply a pea-sized amount of high-quality metal polish to a microfiber applicator or foam polishing pad. Use controlled, overlapping circular motions, focusing on one small section at a time. Monitor the residue—it should turn dark as it removes oxidation. Ensure you keep the tool at a low-to-medium speed if using a power tool to prevent overheating the alloy, stopping periodically to wipe away the spent residue and evaluate the progress.
Step 3: Final Calibration and Stabilization
Once the desired shine is achieved, use a clean, dry microfiber cloth to remove all remaining polishing oils. Follow up immediately with a high-quality rim sealant or wax to seal the pores of the metal. Allow the sealant to cure according to the manufacturer’s instructions, typically for 15-30 minutes, before buffing to a high-gloss finish to lock in the protection.
Current landscape or user debate of alloy rim polishing

The current market for alloy rim polishing is split between traditional manual kits and modern, automated, or machine-assisted tools. Enthusiasts argue that manual control allows for better handling of intricate wheel spoke patterns, while professionals lean heavily toward cordless micro-polishers for speed and consistency. Budget is the primary driver of this divide; entry-level users favor cost-effective, all-in-one pastes, while commercial shops invest in multi-stage abrasive systems that provide a more durable and predictable outcome for clients.
- A major market trend is the shift toward water-based polishing compounds that reduce environmental impact without sacrificing abrasive efficacy.
- Most users expect a single session of polishing to provide protection for at least 3-6 months depending on local road salt and climate exposure.
- There is increasing accessibility to professional-grade tools that were once exclusively available to high-end detailing studios.
- Environmentally conscious consumers are increasingly opting for bio-degradable cleaners that neutralize brake dust safely.
| User Segment | Preferred Configuration | Expected Outcome |
|---|---|---|
| Professional / Heavy Use | High-output, premium build with maximum control parameters | Long-term durability with consistent results |
| Standard / Daily Use | Balanced features, automated presets for ease of operation | Reliable everyday performance with minimal oversight |
A significant ongoing debate centers on the necessity of power tools versus hand polishing. Proponents of manual polishing claim it prevents the high-friction heat that can weaken the clear coat on diamond-cut alloys. Conversely, power-polishing advocates maintain that modern equipment, when handled with correct speed settings, is the only way to achieve true uniformity on larger wheel diameters. Both sides agree, however, that proper prep work remains the ultimate deciding factor for the longevity of the final polish.
Operational challenges and limitations of alloy rim polishing
Users often struggle with compatibility issues when dealing with coated versus uncoated alloys. If you accidentally attempt to "polish" a clear-coated wheel as if it were bare metal, you risk stripping the clear coat, leading to permanent damage. Furthermore, the sheer variety of wheel designs—from deep-dish to multi-spoke—creates physical access limitations. Maintaining a consistent polish in deep crevices or around complex lug holes requires specialized attachments that many DIYers fail to acquire, often resulting in "spotty" finishes where the main face of the wheel is bright, but the edges remain oxidized and dull.
Future outlook and scenario projection for alloy rim polishing
Looking ahead, the next decade of alloy rim polishing will likely be defined by the emergence of smart-sensing tools and self-healing protective layers. We anticipate the development of coatings that can bond molecularly with polished alloy to prevent oxidation entirely, potentially rendering frequent re-polishing cycles obsolete. Integrated feedback loops in handheld polishing devices, which measure the surface temperature and metal hardness in real-time, will allow even novices to achieve professional-grade results. As material science advances, we expect the introduction of more eco-friendly, enzyme-based compounds that break down brake dust while actively "conditioning" the metal surface, moving the field toward a more sustainable and maintenance-free future.
| Timeline | Expected Breakthrough | Impact on User Experience |
|---|---|---|
| Next 2-3 Years | Smart sensor integration and real-time feedback loops | Elimination of user error and automatic calibration |
| Next 5-10 Years | Biodegradable/Self-healing materials and high-efficiency coils | Drastically reduced maintenance and lifetime durability |
Practical applications of alloy rim polishing in daily routines
Integrating alloy rim polishing into a routine requires a focus on maintenance intervals rather than heavy-duty restoration. For most, this means a thorough deep clean every 3-4 months, followed by a light polishing session to remove microscopic surface oxidation, and finally, a fresh application of a protective sealant. The key is to avoid waiting until the wheels show visible signs of failure, as cumulative neglect makes the restoration process exponentially more difficult and labor-intensive.
Use Case 1: Individual and Residential Use
For the average car owner, polishing should occur during a seasonal wheel swap. By using a simple hand-held microfiber applicator and a balanced metal polish, you can maintain the rim's appearance in about 30 minutes per wheel. Focus on ease of operation—keeping the workspace shaded and cool—to prevent the polish from drying too quickly during the cleaning cycle.
Use Case 2: Professional and Commercial Use
Commercial shops utilize pneumatic or battery-powered multi-stage polishers to handle high volume. The strategy here is efficiency through batch processing—pre-treating, polishing, and sealing in rapid succession. Professionals emphasize the use of high-durability ceramic sealants that offer 12+ months of protection, providing significant value and peace of mind for the vehicle owner.
Use Case 3: Advanced Optimization Solutions
For show-car enthusiasts, the advanced strategy involves multi-stage polishing, moving from heavy-cut compounds to ultra-fine finishing polishes, followed by a multi-layer ceramic coating. This pairing creates a "glass-like" depth that is both visually stunning and physically resilient against the harshest road elements, creating the ultimate standard for show-ready aesthetics.
Expert perspectives on alloy rim polishing
The consensus among detailing experts is that alloy rim polishing is not an isolated event but a consistent maintenance cycle. Success is highly dependent on the "less is more" principle; applying too much pressure or too much compound often masks the metal's natural finish rather than enhancing it. Experts emphasize the importance of using clean, dedicated towels and pads to avoid cross-contamination from other vehicle cleaning fluids, which can react negatively with the alloy or the polish itself.
Conclusion
In conclusion, understanding the correct setup and execution of alloy rim polishing is essential for securing optimal results. By following the best practices and calibration guidelines detailed in this guide, users can ensure long-term efficiency and consistent performance.
Frequently Asked Questions
What is the primary difference between machine-polished and hand-polished alloy rims?
Machine polishing uses high-speed buffing wheels for a uniform, mirror-like finish, while hand polishing offers better control for intricate designs and tight corners.
How can I tell if my alloy rims have a protective clear coat?
Apply a small amount of metal polish to a hidden area with a white cloth; if the cloth turns black, the rims are raw alloy and safe to polish, but if it stays clean, they are clear-coated.
Is it necessary to remove the tires before polishing alloy rims?
Removing the tires is not strictly required, but it is highly recommended to prevent accidental damage to the rubber and to ensure complete access to the inner rim edges.
What grit level should I start with for sanding oxidized alloy rims?
Begin with 400 or 600-grit wet sandpaper to remove heavy oxidation, then progressively work your way up to 2000-grit to achieve a smooth surface for final buffing.
How do I maintain the shine on polished alloy rims after the work is done?
Apply a high-quality metal sealant or a dedicated ceramic coating to protect the raw metal from oxidation and brake dust accumulation.
Can I use an electric drill for polishing alloy rims?
Yes, using a specialized foam or felt polishing cone attached to an electric drill is an efficient way to achieve a professional shine on barrel and spoke surfaces.
Why do my alloy rims become cloudy shortly after polishing them?
Cloudiness occurs when raw, unprotected alloy reacts with moisture and oxygen; immediate application of a sealant is essential to prevent this atmospheric oxidation.
Are there specific cleaning products I should avoid on polished alloy rims?
Avoid acidic or highly alkaline wheel cleaners, as these will chemically etch and permanently dull the mirror finish of non-clear-coated alloy.