Mastering the How to Polish Alloy Wheels: Achieve a Gleaming Finish Effortlessly Sizing & Specs Checklist is the definitive way to restore your vehicle’s curb appeal while protecting the underlying metal integrity.
This guide is designed for automotive enthusiasts and DIY mechanics who possess basic cleaning skills and want to elevate their wheel maintenance routine to a professional standard. No prior heavy-duty restoration experience is required, though patience is key.
By the end of this guide, you will be able to identify wheel material types, select the appropriate abrasive grades, and execute a multi-stage polishing process that ensures a mirror-like shine without damaging the alloy surface.
- Identifying your alloy wheel composition.
- Selecting the correct grit levels for oxidation removal.
- Safety protocols for handling chemical polishes.
- Proper buffer speeds for preventing heat damage.
- Finalizing the finish with protective sealants.
Overview & Prerequisites

The Essential Toolkit
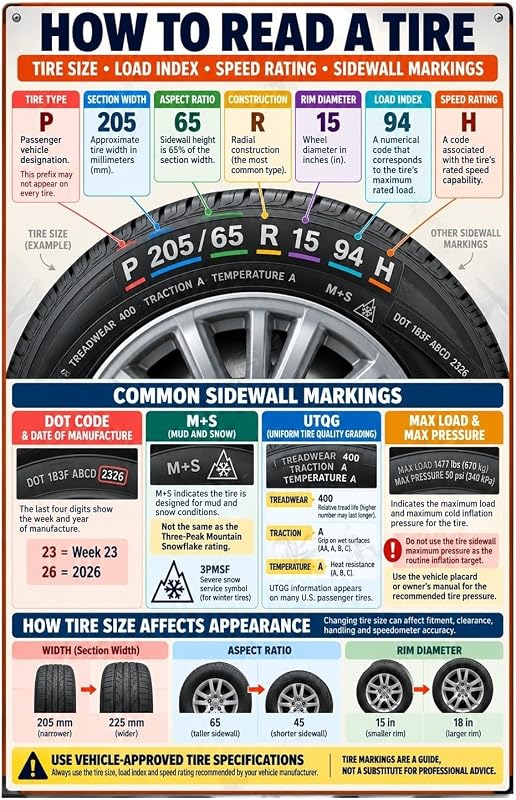
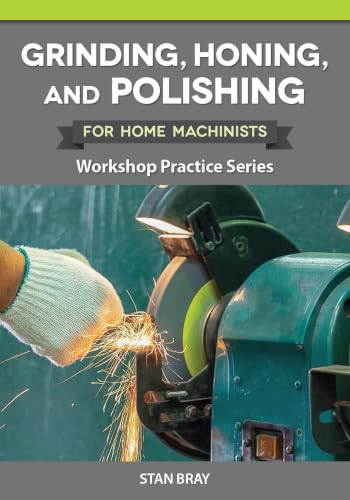
Before beginning, gather your materials: high-quality aluminum polish, a set of microfiber cloths, varying grades of wet-dry sandpaper, and a polishing ball attachment for your drill. Ensure you have assessed your wheels against Best Tire Size Comparison: Finding Your Perfect Wheel Fitment to ensure your setup is compatible with high-performance polishing.
Understanding Wheel Condition
Not all wheels require the same approach. Determine if your alloy has a clear coat, as clear-coated wheels require a completely different chemical approach compared to raw polished aluminum. Inspecting the metal for deep pitting or curb damage is the first step in successful restoration.
Always perform a spot test on the inner barrel of the wheel before applying any abrasive to the visible face to ensure the polish does not cause unwanted staining or etching.
Core Concepts & Fundamentals

Surface Metallurgy Principles
Polishing is essentially the process of controlled surface removal. By using abrasives, you smooth out the microscopic peaks and valleys of the metal, creating a surface that reflects light uniformly. Understanding this allows you to avoid "over-polishing," which can compromise the structural integrity of the wheel face.
Chemical vs. Mechanical Action
Most successful restoration involves a hybrid approach. Mechanical action (sanding/buffing) removes physical imperfections, while chemical cleaners dissolve oxidation. For more info on specific problems, check our guide on 7 Common Problems with How to Polish Alloy Wheels: Achieve a Gleaming Finish Effortlessly (and Quick Fixes).
| Action | Correct Approach | Incorrect Approach |
|---|---|---|
| Oxidation Removal | Fine-grit wet sanding | Heavy grinding |
| Polishing Motion | Circular, even pressure | Focused, high-heat dwell |
Step-by-Step Execution Guide

Preparation and Surface Cleaning
Before picking up a buffer, ensure the wheel is entirely free of brake dust and grease. Use a dedicated wheel cleaner, but be cautious with acidic solutions that might etch bare metal.
The Buffing and Finishing Phase
Once clean, apply the polishing compound using an applicator or power ball. For deep scratches, consult Aluminum Filler For Curb Rash: A Complete Guide to Restoring Your Wheels before proceeding with the final polish.
Best Practices & Pro Tips
Maintaining the Shine
The secret to keeping alloy wheels looking new is applying a dedicated metal sealant immediately after polishing. This creates a barrier against road salts and brake dust that would otherwise dull the finish.
Consistent Maintenance
Establish a regular cleaning schedule. Frequent light cleaning is significantly easier than heavy-duty restoration every six months. See How to Polish Alloy Wheels: Achieve a Gleaming Finish Effortlessly vs Top Competitors: Which is Best? for maintenance comparisons.
Troubleshooting & Common Pitfalls

Addressing Surface Haze
If your wheels appear cloudy after polishing, you likely have residual compound or "buffer trails." This is usually resolved by changing to a cleaner, softer pad and repeating the final pass with less pressure.
Managing Pitting and Discoloration
If you encounter deep pits, don't over-sand. Deep pits are often structural, and aggressive removal can cause the wheel to lose balance or structural integrity. Sometimes, a professional refinish is safer than DIY correction.
Frequently Asked Questions
How often should I polish my alloy wheels?
A: Generally, polishing twice a year is sufficient for daily drivers, while show cars may require touch-ups after each major outing.
Can I polish clear-coated alloy wheels?
A: No, polishing a clear-coated wheel will remove the protective layer and result in a cloudy, uneven finish; you should use a polish designed for clear coat instead.
What is the best way to clean off leftover compound?
A: Use a high-quality isopropyl alcohol wipe or a dedicated pre-polish cleanser to ensure the surface is completely stripped of residue.
Is it necessary to remove the tires?
A: While removing tires provides the best access to the entire rim, it is not strictly required if you have a flexible polishing tool and take your time.
What happens if I use a drill that is too powerful?
A: A drill that is too powerful can cause excessive heat transfer, which may discolor the aluminum or melt plastic components near the wheel.
Can I use toothpaste to polish wheels?
A: While some people suggest household hacks, they often contain unpredictable abrasives that may damage the finish; use dedicated automotive metal polishes for safer results.
How can I tell if my wheels are raw or coated?
A: Rub a small amount of polish on an inconspicuous spot; if the cloth turns black, the wheel is raw aluminum. If it stays clean, it is likely coated or painted.
Will polishing fix deep curb rash?
A: Polishing only addresses surface finish; deep curb rash requires filling or grinding and repainting to restore the wheel's original shape.
Key Takeaways
- 1 Always identify if your alloy is bare or clear-coated before beginning.
- 2 Cleanliness is the most important factor in preventing scratches during the process.
- 3 Use consistent, light pressure to avoid creating hot spots on the metal surface.
- 4 Wet sanding is essential for removing deeper oxidation or light surface imperfections.
- 5 Protective sealants are mandatory to maintain the finish you worked hard to achieve.
- 6 Avoid using acidic cleaners on raw aluminum as they can cause permanent etching.
- 7 Practice on a scrap piece of metal to gauge your pressure and speed before touching the wheels.
Conclusion
Successfully polishing your alloy wheels is a rewarding project that significantly improves your vehicle's appearance. By following the systematic approach of cleaning, sanding, buffing, and sealing, you ensure that the effort you put into the project results in long-lasting beauty rather than temporary shine.
Remember that the quality of your finish is directly proportional to your patience. If you encounter difficulties, refer back to the troubleshooting section or revisit the 7 Common Problems with How to Polish Alloy Wheels: Achieve a Gleaming Finish Effortlessly (and Quick Fixes) to stay on track.
Take your time, prioritize safety, and enjoy the transformation of your wheels.
📌 Pillar Resource: Read our complete our How to Polish Alloy Wheels: Achieve a Gleaming Finish Effortlessly resource for in-depth insights.