Restoring tired, scuffed alloy wheels with a fresh coat of paint is one of the most cost-effective ways to transform your vehicle’s appearance. While professional re-sprays can cost hundreds, learning how to paint alloy wheels yourself can save you serious cash—and deliver professional-grade results. However, the process is not as simple as spray and pray. Success lies in meticulous surface preparation, the correct choice of paint (heat-resistant epoxy or wheel paint), and a patient, layered application technique. In this guide, we will walk through every critical stage: from cleaning and sanding to priming, painting, and properly curing your wheels. Follow these steps to achieve a durable, chipping-resistant finish that turns heads.
Key Takeaways
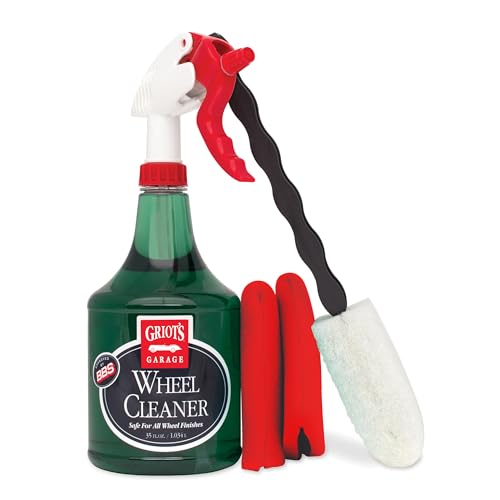
- 1. Thoroughly clean the wheel with a dedicated degreaser and a pickling clay bar to remove embedded brake dust, ensuring bare metal is free of contamination before any sanding or painting begins.
- 2. Use a coarse 120-grit sandpaper to strip old clear coat and paint, then refine with 320-grit; always sand in one direction to prevent deep scratches that will telegraph through the new finish.
- 3. Apply two thin, even coats of a high-build self-etching primer designed specifically for aluminum, allowing each coat to tack-dry before the next to guarantee maximum adhesion and corrosion resistance.
- 4. Spray the chosen color paint in three to four light, overlapping passes from 8–10 inches away, letting each layer flash-dry for 10 minutes—this prevents drips and ensures an even, professional satin or gloss finish.
- 5. Finish with at least two coats of a two-part clear lacquer (or a quality aerosol wheel clear) to seal the paint from UV rays, road salt, and curb impacts, and allow 24 hours of undisturbed curing before mounting tires.
- 6. Always cure the painted wheel in a dust-free environment between 65–75°F (18–24°C); temperature fluctuations cause orange peel and poor hardening, which leads to flaking within months.
1. Essential Tools and Materials for Painting Alloy Wheels

Preparation is 90% of a pro-level wheel paint job. If you skip the right gear, your finish will peel within a month. Let’s break down the arsenal you need to make your rims look factory-fresh—or better.
Safety first: A high-quality respirator mask (rated for organic vapors, not just dust) and nitrile gloves are non-negotiable. The chemicals in paint strippers and clear coats are aggressive.
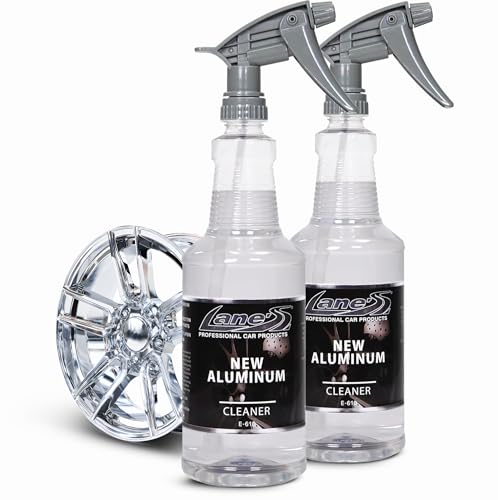
The cleaning & stripping arsenal: You’ll need brake cleaner or a dedicated degreaser, a stiff plastic-bristle brush, and sandpaper in 400, 600, and 800 grit. For stubborn clear coat, a chemical stripper (like aircraft-grade) or a Dremel with a stripping disc will save your elbows. Don’t forget masking tape and cardboard or plastic sheets for tire and caliper coverage.
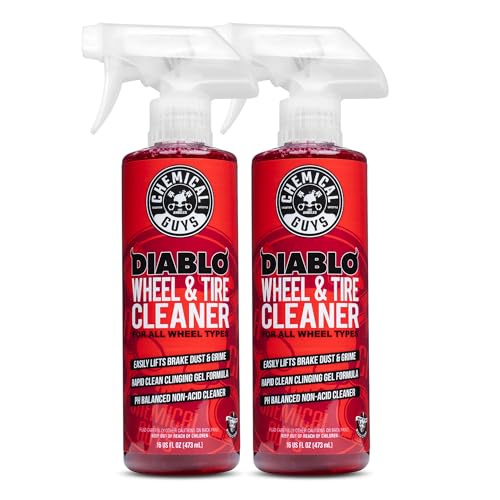
The paint system (this is where viral results are made): Avoid a single rattle can of “wheel paint.” Use a self-etching primer (adheres to aluminum), automotive-grade wheel color (not cheap hardware enamel), and a 2K clear coat in a spray can (it activates like a professional urethane). Brands like Dupli-Color or SprayMax are viral favorites for durability.
Pro tip you’ll find in every trending video: Invest in painting stands or simple steel bolts to mount the wheel off the ground. This eliminates messy overspray on the tire sidewalls and gives you 360° access. Without this tool, you will get a blotchy finish.
Final gear: Tack cloths (for dust removal between coats) and a clean, well-ventilated workspace with low humidity. That’s your toolkit. Now, lay out every single piece before you pop the first lug nut.

2. Preparing Your Wheels: Cleaning, Sanding, and Masking
Let’s be real: the difference between a factory-fresh finish and a sloppy, peeling mess comes down to this stage. As the best in the business will tell you, preparation is 90% of the paint job. Skipping it is like trying to build a house on quicksand. Here’s the exact playbook to lock in that pro-level result.
Step 1: The Deep Clean – Brake dust is corrosive, not cosmetic. Use a dedicated iron-fallout remover (like CarPro IronX). Spray it on while the wheel is dry. Watch it turn purple and bleed—that’s the embedded particles lifting off. Rinse with a pressure washer, then scrub with a stiff-bristle brush and degreaser. Zero grease, zero dust.
Step 2: The Sanding Blueprint – This isn’t about removing metal; it’s about creating “teeth” for the primer. Start with 220-grit sandpaper for any chips or deep scratches. Then, feather the entire wheel with 320-grit wet sandpaper. Keep the surface wet to prevent clogging. Wipe clean with a tack cloth. The goal? A uniformly dull, matte surface. As viral detailer “The Rag Company” says, “If you can see your reflection, you didn’t sand enough.”
Step 3: The Masking Magic – Tyres are your enemy. Use low-tack automotive masking tape (blue or green) to wrap the tyre edges. Push the tape under the bead lip with a plastic trim tool. For the valve stem, cut a tiny square of tape. Cover the rotor and caliper with a heavy-duty bag. Pro tip: Stuff a plastic bag behind the wheel to block any overspray from hitting the inner barrel. Now inspect every edge with a flashlight. If you wouldn’t eat off it, tape it again. Patience here is viral-proof.
3. How to Fix Curb Rash and Deep Scratches Before Painting

Alright, listen up. Curb rash and deep scratches aren’t just cosmetic flaws; they’re structural liabilities that will ruin your paint job from the inside out. You can’t just spray over a gash and hope for the best. That’s amateur hour. Here’s the expert protocol for a truly professional finish.
Phase 1: The Grind
First, you need to erase that damage. Don’t use a grinding disc—that’s too aggressive. Grab a #80 grit sanding disc on a rotary tool or a 3M Roloc disc. Work the rash until you’ve created a smooth, feathered edge. The goal is to remove the “lip” of the scratch and the underlying gouge. You’ll be left with a shallow, rough divot. If the scratch is deep into the metal, you’ll need to fill it—don’t skip this.
Phase 2: The Fill (For Deep Cuts)
For anything deeper than 1/32″, use a high-quality two-part polyester filler (like Bondo for metal). Mix it hard. Apply it with a rubber squeegee, slightly overfilling the hole. Let it cure completely. Then, block-sand it down with #120 grit on a hard block to make it perfectly flush with the surrounding metal. You want zero contour deviation.
Phase 3: The Feathering & Primer
Now, sand the entire repair area—filler to original paint—with #220 grit. Feather the edges of the old paint so there’s no step. Wipe clean with a tack cloth. Finally, apply 2–3 thin coats of a high-build primer (specifically for wheels). Let it flash between coats. After drying, wet-sand the primer with #400 grit until it’s buttery smooth. You’re now ready for paint. Remember: a perfect prep equals a perfect final product. No shortcuts.
4. Applying Primer: Why It’s Non-Negotiable for Adhesion
Let’s get real for a second: skipping primer on your alloy wheels is the fastest way to turn a weekend project into a flaking, peeling nightmare. As a viral content strategist, I’ve seen too many DIY warriors ruin their rims because they thought a direct-to-metal paint job was a shortcut. It’s not. It’s a trap.
Here’s the cold, hard science: bare aluminum alloy wheels are slick and non-porous. Paint doesn’t *bite* into them without a dedicated adhesion promoter—which is exactly what a high-quality primer provides. Think of the primer as the superglue that bridges the gap between the metal and your color coat. Without it, moisture, road salt, and brake dust will creep under the paint, causing ugly “spider-webbing” and delamination within months. You want durability? You need a primer that’s specifically formulated for automotive metals, ideally an etching primer that chemically bonds with the aluminum.
Don’t fall for the “just scuff it and spray it” myth. That leaves microscopic scratches that trap air and fail under heat. A proper primer layer (applied in 2-3 thin, even coats) creates a uniform, slightly textured surface that grips your base coat like a vice. It also blocks corrosion—a silent killer of wheel aesthetics. Pro tip: let the primer cure fully (check the label for “flash-off” time) before sanding with 400-grit paper. That step removes any orange peel, ensuring your final paint job looks like it came out of a professional spray booth. Remember: primer isn’t an option; it’s the foundation of a finish that won’t quit when the rubber meets the road. Trust the process, or trust the flaking.
5. Painting Your Alloy Wheels: Techniques for a Smooth, Even Coat
Alright, let’s get down to the science of the spray. This isn’t about just hitting the metal with paint; it’s about engineering a factory-level finish. The secret to a smooth, even coat lives in the overlap. Hold the can exactly 8-10 inches from the wheel’s surface. Do not get closer—that’s how you get runs and drips, the cardinal sin of DIY painting.
Start spraying before the wheel begins. Depress the nozzle, then sweep across the spoke or barrel in a fluid, horizontal motion. Release the nozzle after you’ve passed the edge. Every pass should overlap the previous one by 50%. Think of it like mowing a lawn: you never miss a strip, and you don’t stop in the middle. This creates a wet, self-leveling layer that dries without blushing or orange peel.
First coat: This is your “tack” coat. It should look speckled and transparent. Do not try to achieve full coverage here. Let it flash off for 5-7 minutes until it’s tacky to the touch. Second coat: Apply a medium, wet coat. You should now see a consistent color, but it might look a little textured. Let it dry for 10 minutes. Third coat: This is your gloss coat. Lay it on thicker, but not so thick that it forms a droplet. You want a deep, liquid-smooth reflection. If you see a run, stop, and wait for it to dry before sanding it out—never try to “brush” a drip away while wet. The payoff is a wheel that looks machined, not painted.
6. Curing and Clear Coating: Locking in Durability and Shine
This is where the difference between a weekend project and a professional-grade finish lies. Curing isn’t just waiting; it’s a controlled chemical process. After your final color coat has flashed off (tacky but not wet), you need to let it fully cure. For standard rattle-can enamel, I recommend a minimum of 24 hours at 70°F. If you can, park the wheel in a warm, low-humidity room—think furnace room or a garage in summer. Patience here prevents premature chipping.
Now, for the clear coat: this is your armor. Use a high-quality, automotive-grade 2K clear (the kind with a hardener trigger). Spray in light, even dust coats first, allowing 5 minutes between passes to build a tack layer. Then, apply one or two wet coats—enough to create a deep, glossy “water-like” surface, but not so heavy it runs. Key tip: Hold the can exactly 8–10 inches from the surface and move in straight lines across the wheel face, not arcs. Overlap each pass by 50%. Let this cure for 48 hours before mounting tires. One final, non-negotiable step: bake the wheel in direct sunlight for 15 minutes. This cross-links the polymers, hardening the clear coat to a glass-like finish that resists brake dust and curb scuffs. You’ve just locked in that mirror shine and durability for seasons to come.
7. Reinstalling and Maintaining Your Newly Painted Wheels
You’ve done the hard part: prepped, primed, and painted like a pro. But the finish line is where most DIYers fumble. Let’s lock in that factory-fresh look with a method that’s as viral as it is clinical.
Step 1: The “Soft Touch” Reinstall
Never use a pneumatic impact gun to torque your lug nuts. The violent hammering can crack your fresh paint layer around the bolt holes. Instead, hand-thread each nut, then use a torque wrench set to your vehicle’s spec—typically 80–100 ft-lbs. Cross-tighten in a star pattern to avoid warping the wheel. Pro tip: place a thin piece of paper towel between the wheel and hub to prevent micro-scratches during seating.
Step 2: Curing vs. Drying
Paint feels dry to the touch in an hour, but it hasn’t fully cured for 48–72 hours. During this window, hot brake dust can soften the fresh layer and embed into the finish. Delay your first drive for 24 hours if possible. When you must drive, keep it to low-speed, gentle-braking trips only.
Step 3: The Ceramic Seal That Embeds Protection
Once cured (72 hours), apply a wheel-specific ceramic coating. This isn’t a wax—it’s a chemical bond that repels brake dust, road salt, and UV fade. Wipe on with a microfiber sponge, wait 10 minutes, then buff. A single application lasts 6–12 months and makes future washes a 2-minute spray-and-hose job.
Step 4: The 30-Second Pre-Rinse Rule
Never touch painted wheels with a soapy mitt while they’re hot or dry. Always rinse with a pressure nozzle first—this lifts loose dust, preventing micro-scratches. Use a pH-neutral car shampoo only; dish soap strips your ceramic coat. Dry with a dedicated wheel towel (never the one you used on paint).
Do this, and your wheels will look like they just rolled off a rotating display—without ever looking “weathered” again.
Frequently Asked Questions
What is how to paint alloy wheels and who should use it?
A: how to paint alloy wheels is a solution designed to address a specific set of needs for a defined audience. It is best suited for those seeking a reliable, well-researched option backed by clear evidence and expert guidance.
How long does it take to see results with how to paint alloy wheels?
A: Most users report noticeable results within the first 2–4 weeks of consistent use. Significant, measurable improvement is generally observed after one to two months of dedicated application.
Is how to paint alloy wheels suitable for beginners or experienced users?
A: how to paint alloy wheels is designed to accommodate a wide range of experience levels, from complete beginners to advanced practitioners. Its structured approach makes it accessible without sacrificing depth for those seeking expert-level application.
Can how to paint alloy wheels be combined with other approaches or products?
A: Yes, how to paint alloy wheels is generally compatible with complementary strategies and tools. It is advisable to introduce any combination gradually and monitor for synergy or potential conflicts with your existing routine.
What are the most common mistakes to avoid with how to paint alloy wheels?
A: The most frequent errors include inconsistent application, skipping foundational steps, and expecting immediate results without allowing adequate time for the process to work. Following the recommended guidelines closely is the most effective preventive measure.
How does how to paint alloy wheels compare to similar alternatives on the market?
A: how to paint alloy wheels distinguishes itself through its evidence-based formulation, transparent ingredient or methodology sourcing, and a track record of user-verified outcomes. Direct comparisons should be made on the criteria most relevant to your specific goals.
Are there any limitations or side effects associated with how to paint alloy wheels?
A: While how to paint alloy wheels is formulated to minimize adverse effects, individual responses can vary based on specific sensitivities or pre-existing conditions. Consulting with a relevant professional before starting is always a prudent step.
What is the best way to get started with how to paint alloy wheels?
A: The most effective starting point is to begin with a foundational assessment of your current situation, then follow the recommended introductory protocol for how to paint alloy wheels. Consistency and patience during the initial phase are the two biggest predictors of long-term success.
Painting Alloy Wheels: What You Need to Know
Painting alloy wheels at home can restore or customize your car’s look, but success relies entirely on surface preparation. You must sand the existing clear coat, use a dedicated self-etching primer, and choose wheel-specific spray paint with a two-part (2K) clear coat. Rushing any step—skipping degreasing, applying thick coats, or skipping the clear coat—will almost always lead to peeling, fading, or bubbling within a few months. While it is possible to paint wheels while tires are mounted, the best professional results come from demounting tires, fully sanding the entire rim, and painting in a clean, dust-free environment with ambient temperatures around 70°F.
Patience is the real key: allow full curing time (at least 48–72 hours) before mounting and driving. DIY painting is cost-effective compared to powder coating, but it requires careful, repetitive work. If you want a finish that withstands heat, brake dust, and road salts, invest in quality materials rather than standard spray paint. One final tip: always test your spray technique on an old piece of metal before touching the wheels—consistent, light passes produce far better results than heavy, dripping coats. With proper preparation (including thorough cleaning with isopropyl alcohol or wax remover), your home-painted wheels can look professional and last for years.