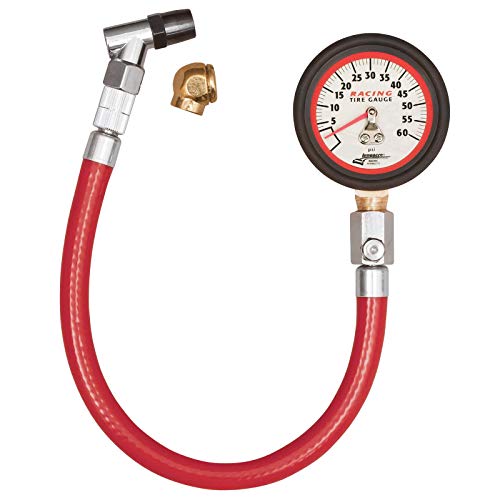
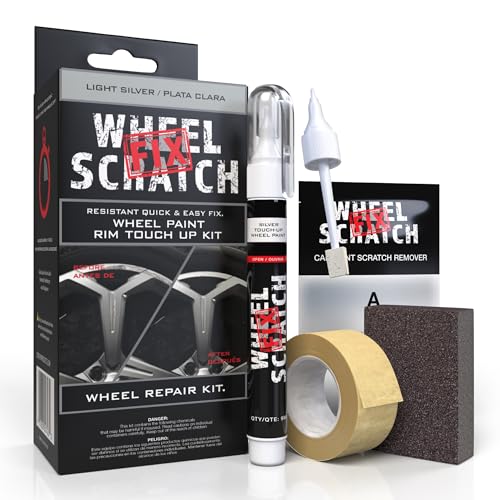
Learning how to setup & use how to repair curb-damaged car wheel rims — easy DIY guide techniques allows car owners to restore their wheels' aesthetic value without the high cost of professional shop services.
This guide is tailored for automotive enthusiasts and DIYers who possess basic tool handling skills. It assumes you have access to a clean garage or workspace and the patience required for high-quality paint and filler curing.
By the end of this guide, you will be able to identify damage levels, properly prepare the alloy surface, apply fillers, and finish the rim to match the original factory appearance.
- Understanding the anatomy of rim damage.
- Essential safety gear and chemical handling.
- Surface preparation and masking procedures.
- Professional filling and sanding techniques.
- Long-term finishing and sealing strategies.
Overview & Prerequisites

Required Tools and Materials
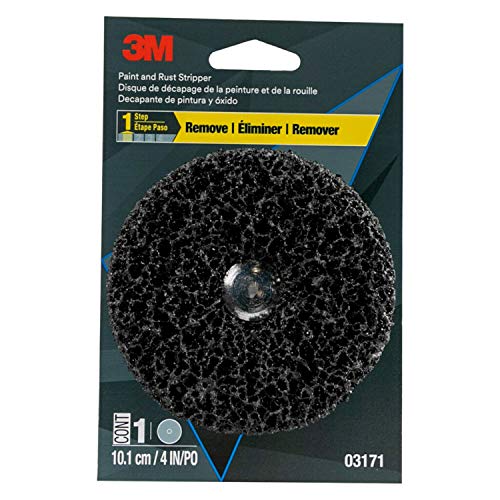
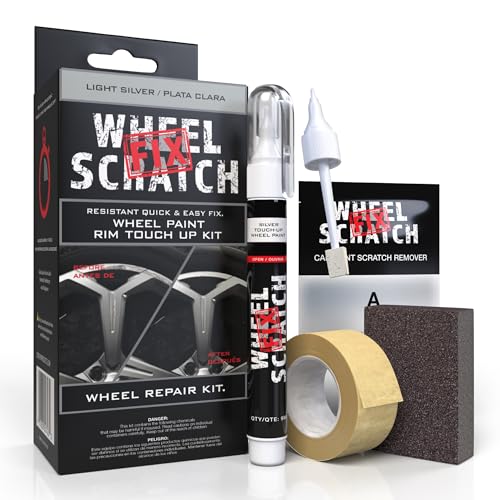
To begin, you will need high-grit sandpaper (400 to 2000), a metal-safe body filler, specialized wheel primer, color-matched wheel paint, and clear coat. Always ensure you have a Best Paint Stripper For Alloy Wheels Kit available for stubborn paint removal before starting the repair.
Assessing Feasibility
Not all rim damage is cosmetic. You must confirm that the curb rash is limited to the outer edge and has not caused structural deformation or stress fractures. If you are unsure, consult a professional to ensure your safety on the road.
Always work in a well-ventilated area when using aerosol paints and chemical strippers to avoid inhaling harmful fumes.
Core Concepts & Fundamentals

Understanding Alloy Integrity
Alloy wheels are typically cast from aluminum or magnesium. When repairing, the goal is to maintain the surface integrity without removing excessive metal. Proper adhesion depends entirely on the cleanliness of the surface; residual brake dust or oil will result in premature paint peeling.
The Anatomy of a Perfect Finish
A professional repair relies on layers: a strong foundation (primer), a color layer (paint), and a protective shield (clear coat). Understanding how these layers bond is critical to achieving a factory look. Learn more about your specific wheel type by reading Are Steel Wheels Better At Holding Pressure Than Alloy Wheels On A Car?
| Method | Correct Approach | Incorrect Approach |
|---|---|---|
| Sanding | Gradual grit progression | Starting with coarse paper |
| Filling | Thin, even layers | Large, uneven mounds |
| Painting | Light, overlapping coats | Heavy, singular spray |
Step-by-Step Execution Guide

Preparation Phase
Clean the wheel thoroughly to ensure no grease remains. Mask off the tire using high-quality painter's tape to prevent overspray.
Execution Phase
Recommended Equipment & Solution

HOW TO REPAIR CARS: The complete beginner-to-expert
A reliable pick for HOW TO REPAIR CARS: The, selected based on this article's guidance.
Best Practices & Pro Tips

Maintaining Longevity
After your repair is cured, avoid automatic car washes with harsh acidic cleaners for at least two weeks. Routine cleaning with mild soap and water is recommended.
Professional Refinement
Troubleshooting & Common Pitfalls

Solving Common Issues
If you encounter issues like bubbling or orange-peel textures, the environment may have been too humid, or you may have sprayed too close to the surface. Review 7 Common Problems with Best Way to Clean Brake Dust Off Alloy Wheels for insights on surface reactions.
Frequently Asked Questions
Can I repair deep gouges in my rim?
A: Deep gouges may reach the structural integrity of the wheel. If the damage is deeper than 3mm, consider professional replacement for safety.
How long does the repair last?
A: With proper surface preparation and high-quality clear coat, a DIY repair can last several years. It is comparable to a professional paint job if cured correctly.
Do I need to remove the tire?
A: Not necessarily, provided you carefully mask the tire bead. Deflating the tire slightly can help push the edge back for better access to the rim edge.
What is the best temperature for painting?
A: Aim for temperatures between 60 and 80 degrees Fahrenheit. Excessive cold or heat will prevent the paint from bonding properly.
Is body filler the same as rim filler?
A: Always use a filler specifically designed for automotive alloy surfaces. Standard plastic body filler may not handle the high heat generated by brakes.
Will the color match perfectly?
A: Matching paint is difficult due to factory clear coat aging. Consider painting the entire rim face to ensure consistency.
Can I drive the car immediately after finishing?
A: No, you should wait at least 24 hours for the paint to fully cure. Avoid high-speed highway driving for 48 hours.
What if the rim is bent?
A: A bent rim requires a professional machine shop for straightening. Do not attempt to heat or hammer a bent rim at home.
Key Takeaways
- 1 Always inspect for structural damage before attempting repairs.
- 2 Surface preparation is 90% of the work for a professional result.
- 3 Use multi-stage sanding to ensure a smooth transition.
- 4 Keep painting distances consistent to avoid uneven textures.
- 5 Always protect your lungs and skin when using chemicals.
- 6 Allow for full curing time to ensure long-term durability.
- 7 Consistent maintenance keeps restored wheels looking factory-new.
Conclusion
Learning to fix curb rash is an empowering skill that saves money and keeps your vehicle looking pristine. By following the structured approach outlined here, you move from basic cleanup to professional-grade finishing.
Remember that patience is your greatest tool. Rushing the drying phase is the most common cause of failure in DIY rim restoration. Practice on a spare wheel if you have access to one before tackling your main set.
With proper care and attention to detail, your rims will regain their shine and complement your vehicle’s overall aesthetic.
📌 Pillar Resource: Read our complete main How to Repair Curb-Damaged Car Wheel Rims — Easy DIY Guide guide for in-depth insights.